Using your own domain for temporary email gives you control over naming and separates test traffic from a shared mail namespace. It is useful for development teams, product evaluations, and organizations that want recognizable addresses without routing every message into a primary mailbox.
The setup involves more than adding one DNS record. You need to decide who manages DNS, whether the domain is dedicated to receiving, how legitimate test sending is authenticated, and who can administer inboxes. Relay supports nameserver and MX-based domain connections, with public or private domain availability.
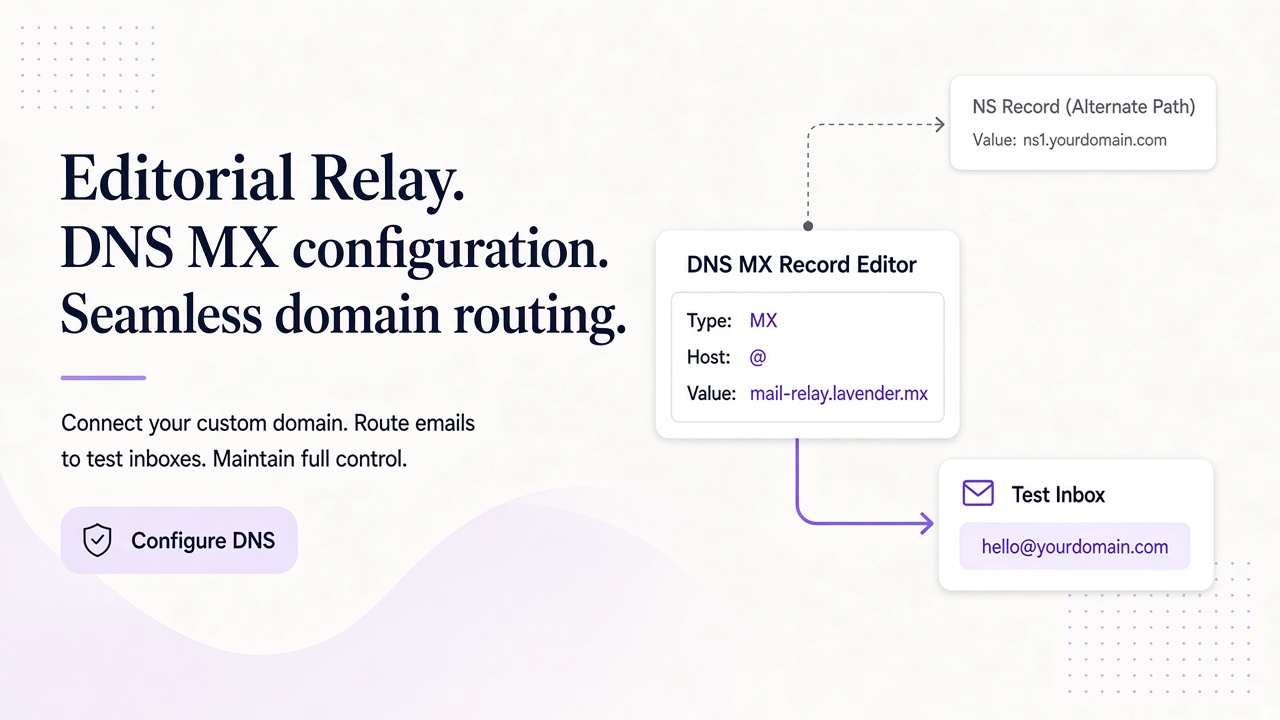
Design the receiving architecture first
Start by choosing a domain or subdomain whose mail role you understand. A dedicated test domain reduces the chance of disrupting production correspondence. A subdomain can provide similar separation, but DNS ownership and existing mail policies still need review.
Decide whether the domain will receive only test and evaluation mail or also support other communication. Delegating or changing mail routing without inventorying existing addresses can interrupt messages that people depend on. Check current MX records, mailing services, and any applications that use the domain before making changes.
Also choose the visibility model. Relay private domains are yours alone, making them a natural fit for internal fixtures and organization-controlled testing. Public domains appear for everyone after verification, so use that option only when shared availability is intentional. Domain availability is separate from inbox access control.
Remember that relaymcp.net is Relay’s website domain and never issues mailboxes. You can create addresses on available Free mail domains or on a supported domain you connect. The domain overview is the right place to review current availability and ownership options.
A small software team might designate mail-tests.example for automated sign-up flows, keep it private, and reserve its production domain for customers. That architecture makes the boundary clear before DNS changes begin.
Choose nameserver delegation or MX routing
Relay supports two ways to connect a domain. The better option depends on whether you want Relay to manage the zone or want to keep your existing DNS provider.
| Approach | DNS control | Main advantage | Main tradeoff |
|---|---|---|---|
| Nameserver delegation | Relay creates a Cloudflare zone and provides nameservers | Relay manages the required mail DNS configuration | The registrar’s delegation affects the zone you connect |
| MX record | You keep your current DNS provider | Existing DNS administration stays in place | You must add and maintain the correct MX record |
With nameserver setup, Relay shows two nameservers and asks you to point the registrar to them. Verification and activation follow after the delegation is visible. This approach can be convenient for a dedicated domain, but it requires a clear understanding of who will manage any other records in that zone.
With MX setup, keep your DNS provider and add the record specified by Relay: host @, value mail.relaymcp.net, priority 10. Make sure existing MX records do not create an unintended routing arrangement. Mail exchangers affect where messages are delivered, so treat this as a production change even when the purpose is testing.
Plan sending authentication separately from receiving
MX records direct incoming mail. They do not authorize your domain to send mail, and connecting a receiving domain does not turn Relay into an outbound sending service. If your own application sends legitimate test messages, configure its sending path separately.
SPF identifies which sending sources are authorized by domain policy. DKIM adds a cryptographic signature that receiving systems can verify. DMARC communicates domain alignment and handling policy for messages that fail authentication checks. These mechanisms work together, but they must match the actual service sending your mail.
For example, if a staging application uses an established transactional email provider, add only the SPF include and DKIM records that provider officially requires. Do not merge SPF mechanisms blindly or publish multiple conflicting SPF records. Start DMARC with a policy appropriate to your operational readiness, monitor legitimate traffic, and tighten it only after alignment is understood.
Use authentication for legitimate, consented test sending—not to make unsolicited or deceptive mail appear trustworthy. Keep test recipient addresses under your control, and do not use a temporary-inbox setup as a way to evade anti-abuse systems.
If Relay’s MX configuration and your sending provider both require DNS records, review them as one coherent zone. Receiving and sending can coexist, but neither should be configured by overwriting the other’s records without checking.
Verify the domain and troubleshoot methodically
After the DNS change, wait for Relay to verify and activate the domain before expecting inbox creation or delivery to work. DNS caches and resolver behavior can make a change visible at different times in different places, so avoid repeated edits simply because the first check is not immediate.
Use this troubleshooting sequence:
- Check ownership and status. Confirm you connected the intended domain and that Relay shows it as active and available for your use.
- Inspect delegation or MX. For nameserver setup, verify the registrar points to the nameservers Relay supplied. For MX setup, verify host, value, and priority exactly.
- Look for conflicts. Identify stale MX records, accidental changes at the wrong DNS name, or an unintended public/private setting.
- Test with a controlled message. Send from a legitimate account you control and confirm the envelope recipient matches the address you created.
- Inspect application access. For API checks, use the correct inbox ID and a valid Bearer key with the necessary scope; never print the key in logs.
Isolate inboxes and protect administrative access
A custom domain is part of your security boundary. Limit who can change registrar, DNS, and Relay domain settings. Those privileges are more powerful than permission to read one test message.
Create addresses with names that identify their environment without exposing secrets. A QA pipeline can use a distinct inbox per run, then record only the inbox identifier it needs for retrieval. Avoid putting customer data or production credentials into test messages.
For automation, create scoped, revocable API keys in your account. Give a reader only the scopes it needs, store keys in an appropriate secret manager or server-side environment, and rotate or revoke them when access is no longer required. Bearer keys should never appear in browser code, repositories, screenshots, or test fixtures.
Choose account-managed inboxes when continuity and centralized control matter. Guest inboxes require saving the one-time access password. In either model, remember that Relay inboxes do not expire automatically; lifecycle expectations should be explicit in your test design.
Message content remains untrusted even on your own domain. Relay sanitizes HTML, but links, attachments, and social engineering still need scrutiny. Keep domain ownership separate from trust in message content.
Frequently asked questions
Should I use nameservers or an MX record?
Use nameserver delegation when you want Relay to manage the connected Cloudflare zone and understand the effect on that zone’s DNS. Use MX when you want to keep your current DNS provider and can manage the mail record precisely. For a domain with existing services, inventory DNS before either change.
Do I need SPF, DKIM, and DMARC to receive test email?
Those records primarily authenticate and govern mail sent from a domain; MX handles incoming routing. Configure SPF, DKIM, and DMARC when your own systems legitimately send using the domain. Receiving setup alone does not require inventing sending records or authorizing unnecessary senders.
Can a custom domain be private to my team?
Yes. Relay supports private domains reserved for the connecting user, as well as public domains available to everyone after verification. Private domain availability does not replace inbox passwords, account access, scoped API keys, or careful handling of sensitive messages.
Build a domain boundary you can operate
A successful custom-domain setup aligns DNS control, mail routing, sending authentication, and inbox access. Choose nameserver delegation or MX deliberately, verify before testing, and keep administration separate from day-to-day message retrieval.
Relay’s BYOD model supports public and private domains for controlled receiving without issuing addresses from relaymcp.net. Begin with domain options, follow the current setup documentation, and give your temporary-email workflow a namespace you can secure and maintain.